Product photography has become one of the most in-demand services in an eCommerce business. It’s a type of photography used by commercial businesses to showcase products properly in their eCommerce store, brochures, and advertisements. Businesses that make photo engagement a priority will experience a 46% increase in their content engagement.
Since we know how powerful eCommerce photography can be, a lot of small business owners will eventually ask themselves whether they can pull off quality product images on their own. The answer is yes, but it’s not as simple as picking up a camera and snapping shots.
If you plan to handle your eCommerce product images, then you will need to put yourself into the shoes of a professional photographer. Professional photographers will take several factors into accounts, such as background, lighting, focus, and camera angles.
The 5 Types of Product Photography
- Clothing Photography
- Lifetime Photography
- Ecommerce Photography
- 360 Product Photography
- Fashion Photography
Certain Equipment will be Required During your Ecommerce Photography Session
We’ll be discussing your camera choice in just a moment, but right now, let’s look at an area that is often overlooked – a photography toolbox. It should contain these items:
- Clamps: For holding certain items in place.
- Tape: Also, for holding certain items in place.
- Fishing Line: For hanging smaller items for display like jewelry.
- Glue: Place small dots to keep certain products in place.
- Spare Batteries: Having to stop and charge your camera battery would stop your photoshoot dead in its tracks, so always have at least one battery backup.
- Clothespins and Hangers: These are used for clothing display.
- Iron: To ensure that clothing is crisp and looks its best during a photography session.
Make sure that you create a list of products to shoot before you start your session. An organized photoshoot will make a huge difference. It saves time and ensures that you’re getting all of the shots you need.
5 Must-Follow Product Photography DIY Tips
Since all of the preliminaries are out of the way, let’s look at some tips that will ensure your eCommerce photography shoot goes flawlessly.
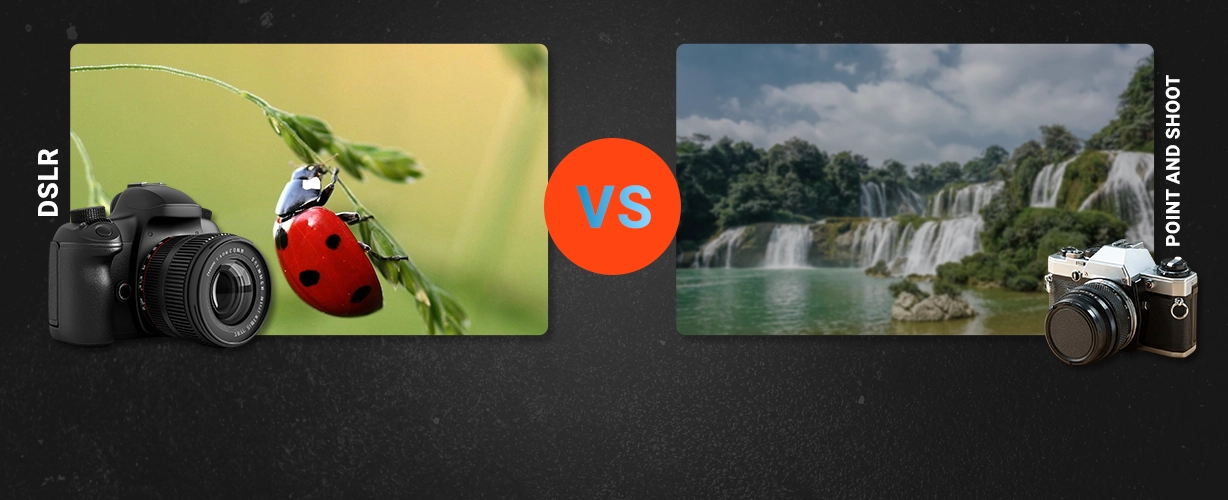
Tip #1: Choosing the Right Camera
Don’t
Before we review the entire process of choosing the right camera, I want to make one point clear. Do not use your phone to attempt to take product photos. The problem is that the lens on your phone is going to distort your photographs. Phone cameras are designed for personal use. They are not professional grade, so don’t try and go the cheap route here. The chances are that you have spent thousands on your business and its success, so a smartphone is not going to cut it.
Do
The good news is that you won’t need to invest the same kind of money that a professional photographer does to handle your eCommerce photography. When looking for a camera, here are the main considerations to keep in mind.
- Megapixel Count: Higher megapixel cameras produce greater quality photos, but they get progressively more expensive. Aim for a camera of at least 12 megapixels and go up depending on your budget.
- Must-Have Manual Mode: This allows you to adjust certain settings to customize photos fully.
- Autofocus: This is a useful feature but not required. It will save time, but it will also be a bit more expensive. Your budget will dictate whether or not you invest in this feature.
- Color Quality: Some cameras will display colors much more vividly, so if you don’t want to spend a lot of time with eCommerce image editing, then invest in a camera with higher color quality.
- Low Light Features: You’ll want a camera that can adapt to the lighting available to you since it’s more affordable to have this feature than it is to create an entire photo studio.
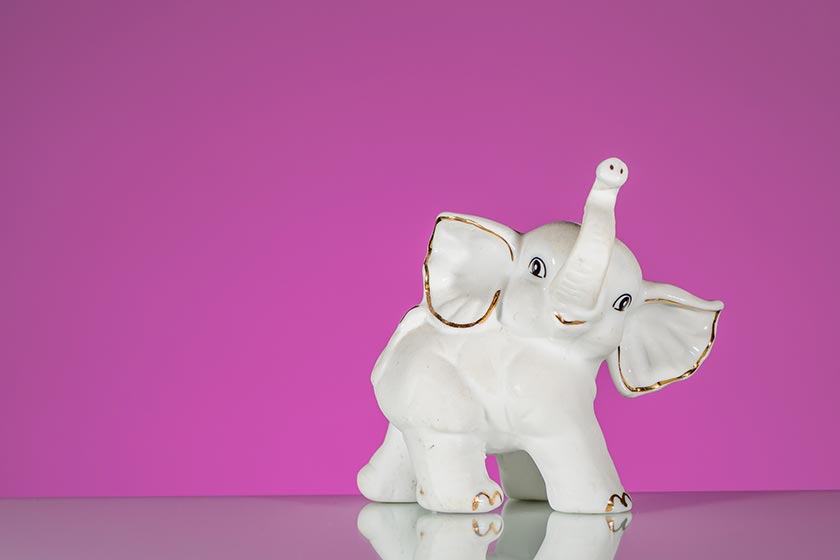
Tip #2: Selecting the Background
Don’t
First of all, never use a cluttered or deep-colored background for product images since it will distract from the focus of the image.
So shooting products on a desk, or cluttered counter will not work. Products must stand out and be the center of attention in all photos. Any distracting elements will draw attention away from the product, and you don’t want that.
Do
Product photography should always be done using a white background. It presents the product without any distractions while also allowing the lighting to showcase it much more profoundly. This is the standard you will see on almost every product catalog in existence. Plus it tends to convey much more information to consumers.
You want to use a completely smooth surface like a white piece of cardboard. It just needs to be a surface with no curves. For instance, a bed sheet would not work since it can wrinkle.
Tip #3: Using the Perfect Angles
Don’t
Don’t just take one shot from one angle and then expect that to impress your audience. You must provide various shots from different angles to give customers a broader look at the products that your business has to offer.
Also, avoid taking all of your shots from eye level. The best advice I can give you here is to browse through catalogs and look at what other businesses in your industry are doing. See how they present their products and then do your best to replicate those angles.
Do
While clicking for a product, take photos from multiple angles. There is no such thing as taking too many photos, so shoot as many as you want. You can always go through and choose the ones to use during the eCommerce image editing phase. Since you have the area set up, you might as well get in as many shots from as many angles as possible.
There is also a photography trick called the “hero shot.” What you do is take shots from lower angles so that the products look larger – or like heroes! Set the camera up at a lower angle just below the surface of the shooting area and then angle the camera upward.
Higher angles are also a good idea as long as you don’t get too high. Again, don’t worry about being perfect because you can snap as many pictures as needed and then choose the ones you want.
Finally, be sure to highlight packaging and any product labels that customers need to see.
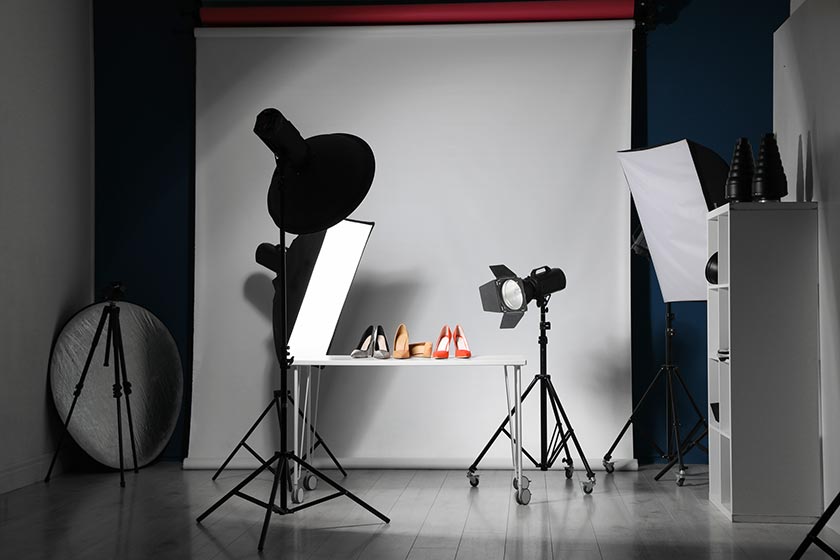
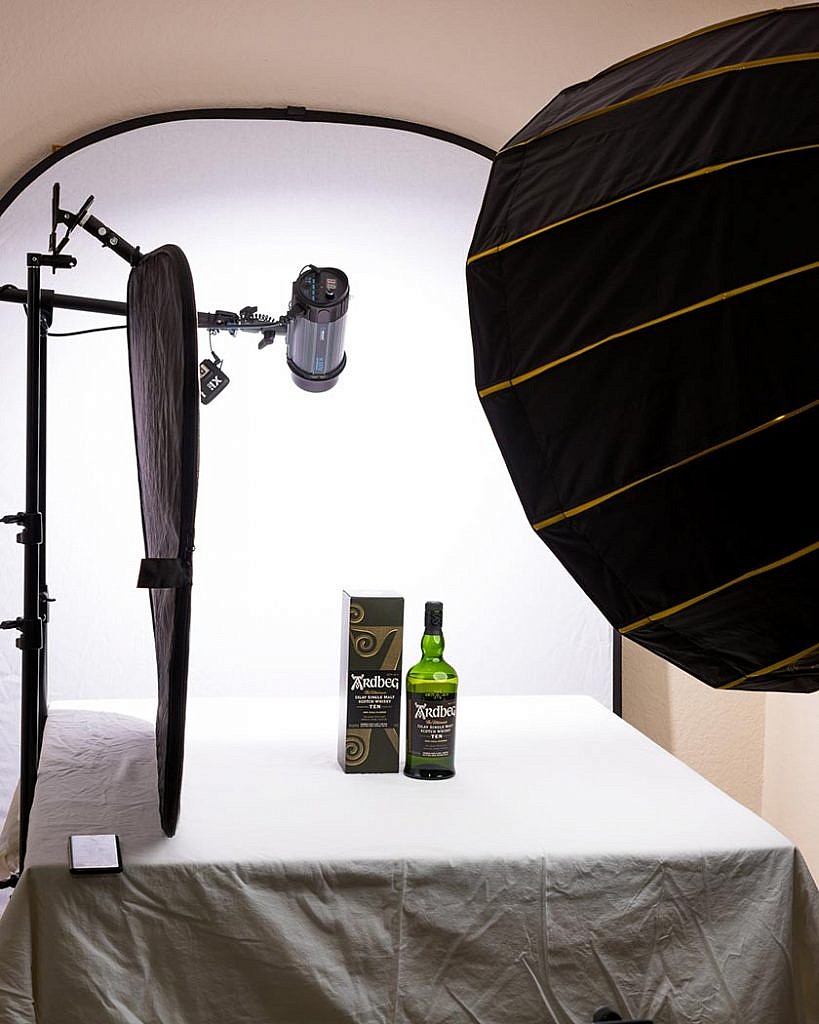
DIY Tip #4: Using the Proper Lighting
Don’t
Never use the built-in flash on a camera. This will create the worst aesthetics possible in product photos. It’s okay for photos that are taken at graduation or late-night parties, but when it comes to snapping professional photos, this won’t cut it. You must use exterior lighting when snapping product photos.
Do
Always use great exterior lighting during your product photography sessions. Also, remember that a white background is going to enhance lighting. Even the best camera invented cannot make up for poor lighting. Your photos would look grainy and come across as extremely unprofessional.
Proper lighting will smooth and sharpen images to create a crisp, professional look. So invest in the proper lighting and snap a few test photos to make sure they are coming across crisply. Compare them to product images being used in catalogs to make sure they are of the same quality.
At the very least, you need two lights on either side of the product so that it doesn’t cast a shadow. As with all photography, test out different lighting angles to see which ones work best.
Finally, you will need to make sure the white balance is set to 0 on your camera.
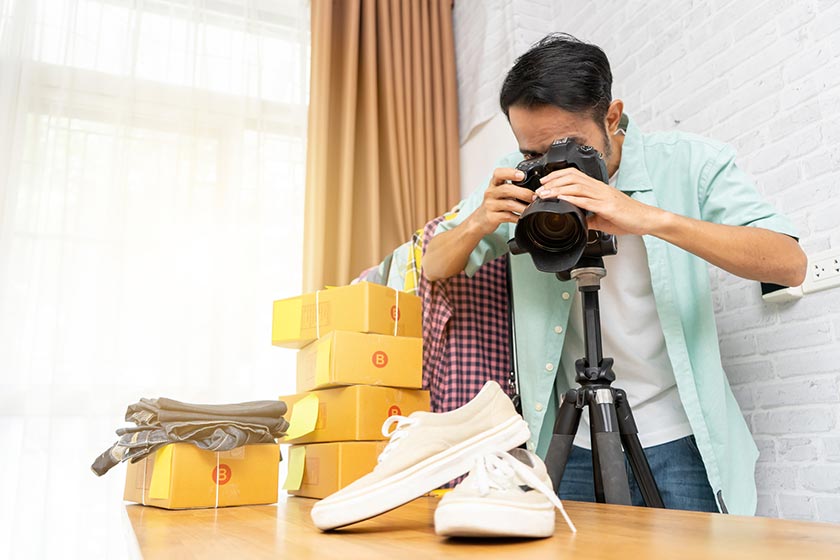
DIY Tip #5: Taking the Shots
Don’t
Don’t let the idea of creating videos get lost in your quest for product photography. Videos can convey a lot of information and tend to convert at a higher rate than pictures.
Also, don’t be afraid of taking too many pictures during a session. Remember that you can always choose to either keep or throw away pictures if there are too many. However, you run into the issue of having to reshoot products if there are not enough images snapped.
Do
Consider taking some shots of the product in its intended environment. This should be done in addition to white backdrop pictures. For example, if you are selling a watch, then it could be a good idea to include images of someone wearing the watch to show customers what it looks like while being worn.
Props are a great way to show consumers how your product can help them solve a specific problem.
Conclusion
Effective product photographs are essential to your business and its brand. All five tips are extremely important and should not be underestimated. You will need to follow through if you want to ensure that your products are gaining good exposure.
Don’t forget about image editing, either! You will need to enhance your photos to get the most value from them. Photo editing is much more complicated than the photo session. You can either do this yourself or hire a professional eCommerce image editing service provider to deliver flawlessly breathtaking product photos.
– SmartPHOTOeditors
SmartPHOTOeditors
 Prev
Prev