Image enhancement is required in many different digital domains, but sometimes these technicalities are covered up by powerful editing software and other tools that have become an everyday part of the business. But learning how the many different image enhancement techniques work within the different digital domains will serve as a tremendous benefit to you and your teams.
In this article, we will delve into the intricacies of image enhancement techniques utilized within the spatial and frequency domains. Our aim is to demystify these complex topics without becoming overly technical. Specifically, we will focus on two key areas. This insight is brought to you by SmartPHOTOeditors, drawing upon our extensive years of editing experience. Let’s explore these fascinating subjects in more detail.
Difference Between Enhancements in the Spatial Domain and the Frequency Domain
The biggest difference is that when we’re dealing with images in the spatial domain, we’re essentially dealing with the images as they are. Their pixel values might change, for example, but only concerning the settings and the scene. However, in the frequency domain, the rate in which the pixels are changing values is one of the focal points. Here
Spatial Domain: Input -> Image Processing -> Output
Frequency Domain: Frequency + Distribution -> Image Processing -> Inverse Transformation -> Output
Without getting too technical in these areas, we’ll shift our focus onto the image enhancement side of this. So, let’s look at how image enhancement occurs in the spatial and frequency domains.
Image Enhancement in the Spatial Domain
The spatial domain is used to define the actual spatial coordinates of pixels within an image, so when we use this term in the image enhancement business, we’re talking about things like equalization, smoothing, and sharpening. Here are a few examples:
Histogram Equalization
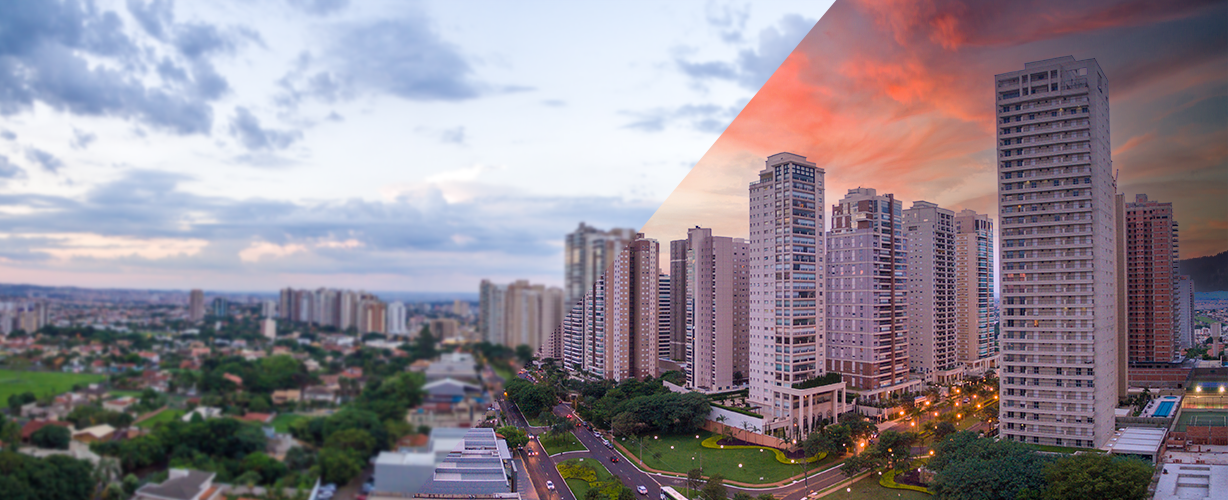
This is a common image enhancement technique that looks to improve on the overall appearance of an image. Imagine that you have a picture that’s a bit too dark, quite common in image enhancement. Well, the fact that it’s too dark tells us that its spatial alignment is on the lower side of the greyscale. So, stretching out those grey levels would create an image that’s clearer because it creates a more uniform distribution.
The same is true of an image that is too bright. Its balance might be tilted to a specific brighter color, so equalizing the darker areas of the image to match would make it clearer.
Image Smoothing
The primary purpose of image smoothing is to help alleviate the symptoms that cameras can cause camera noise, as well as spurious and missing pixel values. There are several different types of smoothing, so we’ll focus on a process known as neighborhood averaging.
A camera can sometimes cause the edges of an image to be blurred, the result of higher band frequencies in the image being diminished because of lighting or other environmental conditions. So, experts will use a professional tactic known as median filtering to set the grey levels of those areas to the same pixel values in the same neighborhood (close to) those of those pixels.
Image Enhancement in the Frequency Domain
Images edited in this way will be transferred into the frequency domain, where it’s possible to work on the spectrum itself. Image enhancement occurs in the Fourier transform of the image and, from an editing perspective, deals with blurring, sharpening, contrast, and the distribution of greys. However, the result is that the pixel values are also going to intensify as the transformation occurs.
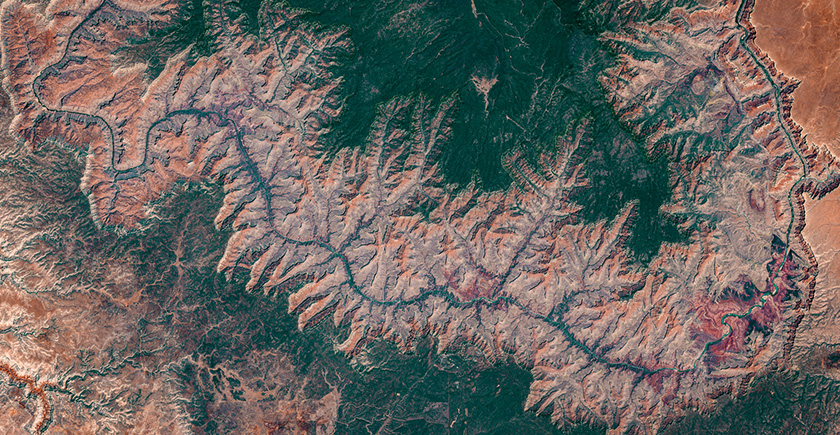
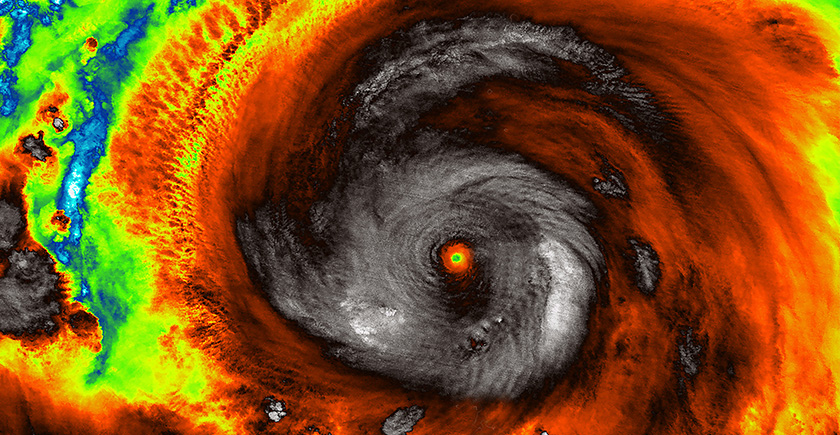
The most common image types that require this type of editing are satellite and medical images. Let’s look at a few examples.
Low-Pass Filtering (Blurring) Image Enhancement
The edges and transitions in an image’s greyscale values contribute significantly to the content of an image found in the higher frequencies. In layman’s terms, low-pass filtering will make an image blurrier. There are several reasons why you might need to have a blurrier image. First of all, even the highest quality cameras in the world leave behind a certain amount of noise. So, blurring will help eliminate it.
Different pixels will be affected by this noise in different ways since they all generate it differently. So, using a low-pass filter can eliminate a lot of noise while only having a minimal impact on the image. For instance, an image taken from a telescope will have its image spread over a lot of pixels, so blurring the image would mostly impact the noise.
High-Pass Filtering (Sharpening) Image Enhancement
A high-pass filter is used to sharpen an image and is another common form of frequency-domain image enhancement. This method focuses on the finer details in the image and does the exact opposite of a low-pass filter. Unfortunately, that also means that it enhances the noise as well, the price that’s extracted to sharped up the content.
That tells us that this image enhancement method should only be used if the image contains minimal noise, otherwise sharpening it will make it much worse. It would look grainy and unnatural, so be careful that you don’t overdo it.

Enhancing a Normal Image to an Amazing One
The truth is that image enhancements can turn an average photo into an amazing one, but if done improperly, it could end up ruining the image. That’s why it’s important to bring in professionals to help get this done correctly.
In conclusion, In digital image processing, two primary domains are often used: the spatial domain and the frequency domain. The spatial domain in image processing refers to the manipulation of pixels in an image, where changes are made directly to the pixels. On the other hand, image enhancement in the frequency domain involves modifying the Fourier Transform of an image, which represents the image in terms of its frequencies. The principal difference between the spatial domain and frequency domain lies in their approach: the spatial domain operates directly on pixels, while the frequency domain operates on the Fourier Transform of the image.
Image enhancement in the spatial domain in digital image processing might involve techniques such as contrast adjustment, noise reduction, and edge enhancement. These techniques adjust the value of pixels based on their neighboring pixels, hence enhancing the quality of the image. When comparing spatial domain vs frequency domain, the former is often more straightforward and intuitive to understand as it directly corresponds to the structure of the observed image, but the latter can provide a more comprehensive analysis of the image’s components.
Digital photo enhancement is a broad term that encompasses both spatial domain techniques and frequency domain image enhancement. Both methods have their strengths and weaknesses, and the choice between them depends on the specific requirements of the image enhancement task at hand. Therefore, a professional understanding of both domains is crucial to achieve the best enhancement results for any given digital photo
At Smart Photo Editors, we have dedicated ourselves to building teams that come equipped with knowledge and experience with image enhancement in every industry, so we are able to handle image enhancement in the spatial and frequency domains.
Ready to transform your photos into breathtaking masterpieces? Our team at Smart Photo Editors has the expertise to handle all your image
– SmartPHOTOeditors
SmartPHOTOeditors
 Prev
Prev