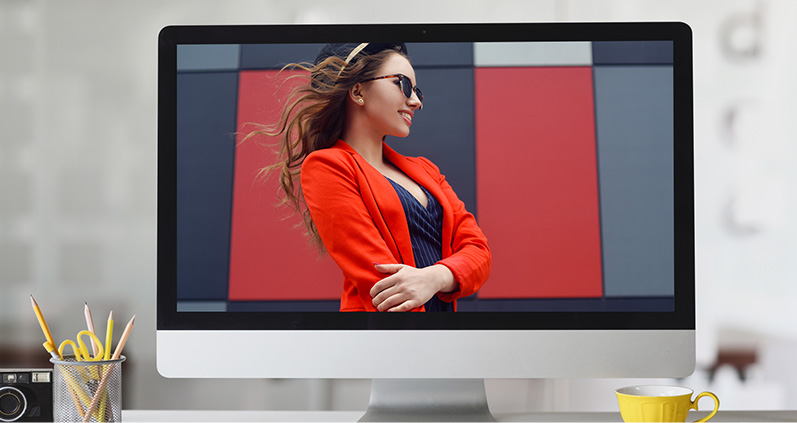
Color management is the backbone of fashion photography. Understanding the way colors are represented across different devices is essential to producing photos that are realistic. Photographers working in the fashion industry must produce photos that come out the exact way they are shot. This requires a detailed approach, both at the shooting as well as the editing stages.
The fact is that even one small misstep will cause problems with the colors when viewing the photo on another device like a different monitor or when converting digital photos to print. If this happens in the fashion industry, for instance with clothing brands, it can result in a disaster.
Buyers may discover, to their dismay, that the clothes or fashion products they see online or in a catalog are not the same as the final product they purchase. This is why color management is so important in fashion photography. This technique is used to ensure that you get accurate colors from your fashion photography.
This blog post shows you how to calibrate colors in fashion photography so that all of your product’s colors are represented accurately when the final photos are published.
Importance of Color Calibration in Fashion Photography
Imagine that you are editing a photo that you just shot and then print out that image only to find that it looks different in print than it did in your editing program. The colors of the product might be off – a rich shade of pink may look dull or the incorrect white balance might make clothes look greyish.
What happened in these cases? The problem is that you edited the photo on a device that wasn’t calibrated. This is almost guaranteed to happen when editing fashion photos without following the proper color calibration tips.
Imagine spending hours editing a batch of photos only to find out that the colors were slightly off on your monitor. So you were editing it the wrong way! Even if you don’t plan on printing the photos as part of a fashion catalog, you still have to take the proper color calibration steps. When you view the same image across multiple devices, its colors will shift.
Of course, this means that everyone will see an image differently across their devices. All devices are made by different manufacturers and have their own initial calibration settings. So you’ll need to make sure they are all on the same page.
Three features make color calibration essential in fashion photography editing:
- It ensures that all photo edits are 100% true to their original colors, especially when it comes to clothes and accessories.
- It adds consistency to images so that your fashion products look the same across all social media platforms.
- It ensures that printed photographs of clothes or the model come out exactly as they were shot.
Ways to Achieve Color Accuracy with Color Calibration
Color accuracy is one of the most important elements of fashion photography. The problem that editors run into is that they are working with systems that have not been properly calibrated. Color calibration is essential in fashion photography as just one off-color can change the perspective of the entire image.
There are several ways of achieving color accuracy through color calibration.
Tip #1: Take Photographs in RAW Format
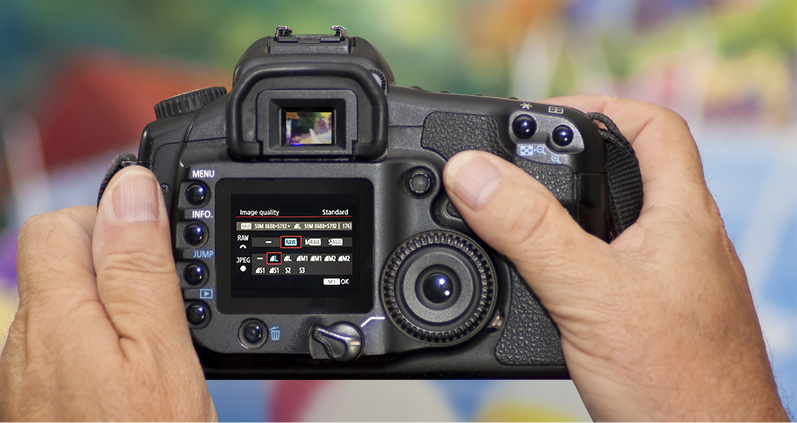
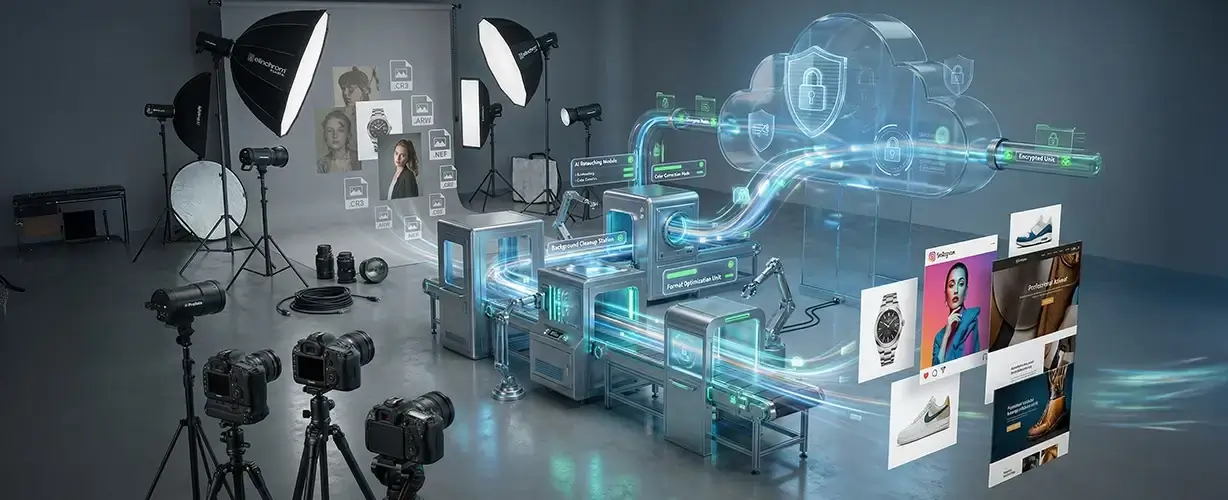
Taking the initial photographs in RAW format is a great practice that will make the editing process more consistent. The reason is that colors are much easier to adjust in this format. That’s not to say that this cannot be achieved with jpegs and other image formats, but it’s more difficult since colors are embedded deeper in those formats. RAW files preserve the original image so it’s easy to calibrate them.
Tip #2: Invest in a Quality Monitor
The fact is that if you are going to get the best out of fashion editing, you must invest in a high-quality monitor. Cheaper monitors have a much smaller range of colors so they are impossible to calibrate correctly. You cannot afford to have your pictures limited by a subpar monitor. You must ensure that your monitor is 100% Adobe RGB capable.
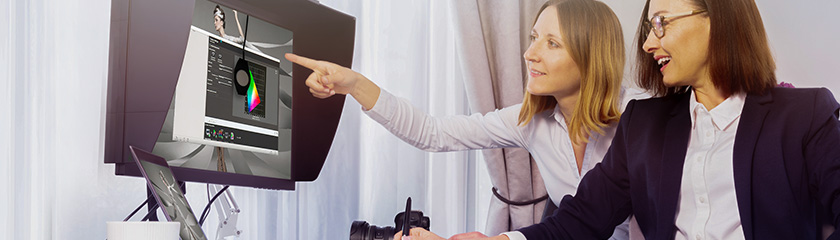
Tip #3: Calibrate the Monitor for Fashion Photography
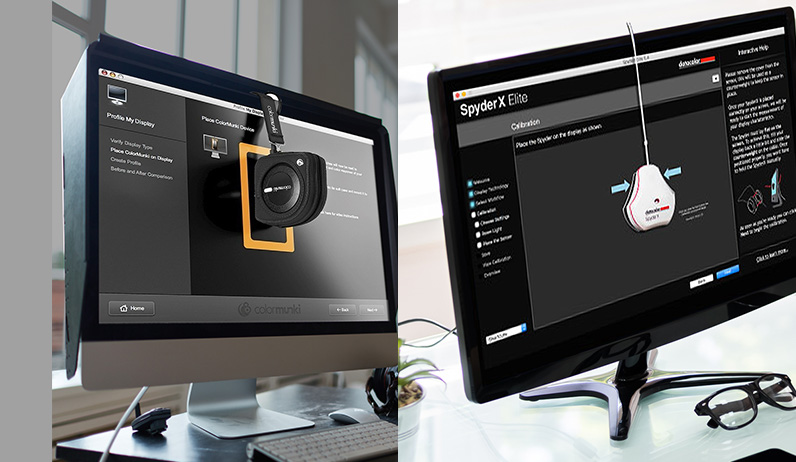
Having a high-quality monitor isn’t enough. You have to calibrate it properly to get the best result. There are several amazing color calibration tools to choose from with X-Rite ColorMunki and Datacolor Spyder at the top of the list. All you have to do is plug in the sensor, run the software, and it automatically calibrates your monitor.
Tip #4: Check Color on Multiple Devices
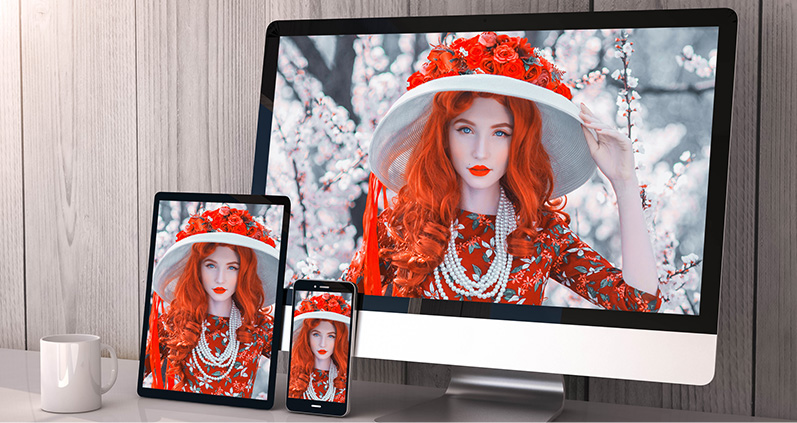
When editing a fashion photograph, it’s always a good idea to check it on multiple devices. This will ensure that the monitor you use for editing is properly calibrated. The best device to use is an iPhone or an iPad. These devices are extremely well-calibrated. If photos look different on these devices than they did on your editing monitor, then you know that your monitor needs to be calibrated further.
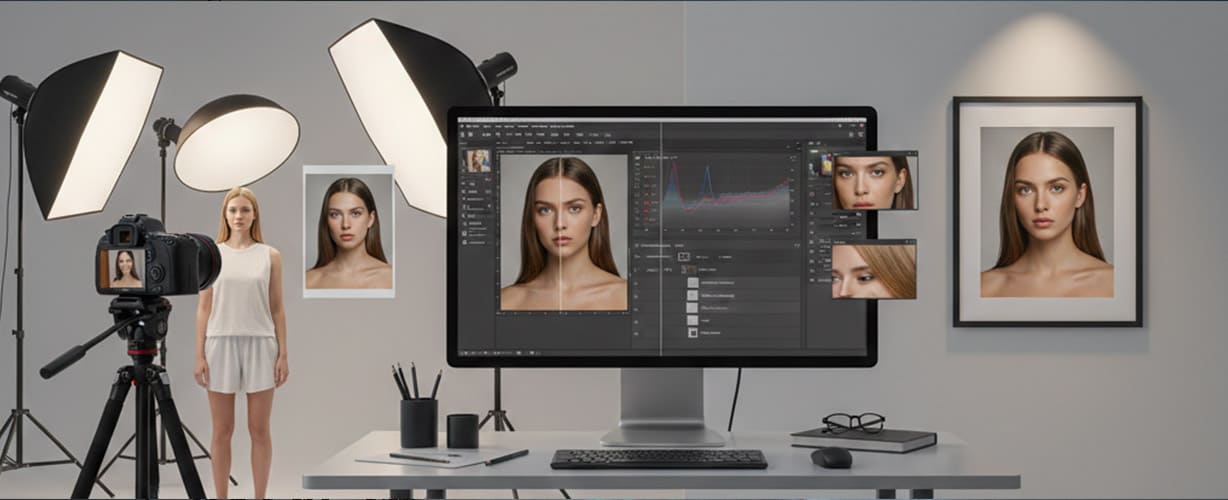
Tip #5: Use Adjustment Layers to Bring out True Colors
Using photo editing software like Adobe Photoshop, you’ll use a feature called adjustment layers to make changes to the color balance and tonal range. What makes this feature so useful is that it doesn’t modify any data from the image itself. It just creates a new layer while preserving the format of the original. Open the adjustments panel so that you have access to the color and tone windows. Then use each icon to make adjustments as necessary. Try starting with contrast and color balance. Those will help you get rid of unnecessary color casts and areas that are improperly saturated.
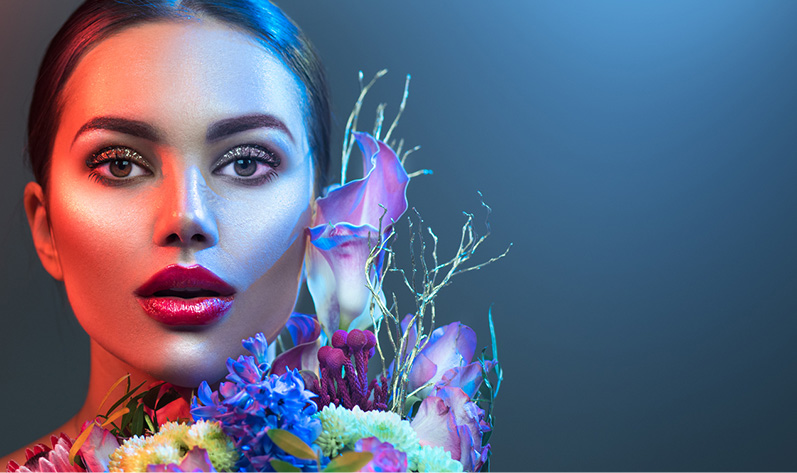
Calibrating Colors Results in Breathtaking Fashion Photos
Fashion photography editing requires spending hours in front of a monitor, going through even the smallest of details in order to achieve perfection. So it’s extremely important that every device used throughout this process is properly calibrated. Different brands and devices have their own calibration settings and failing to calibrate them can lead to major problems.
With that said, get into the habit of shooting photos in RAW format. It’s the best format for editing and will get you the best results when adjusting for colors and achieve true color accuracy in every photograph.
– SmartPhotoEditors
SmartPHOTOeditors

 Prev
Prev