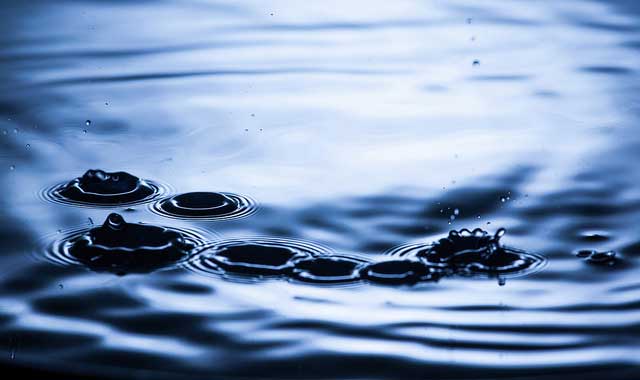
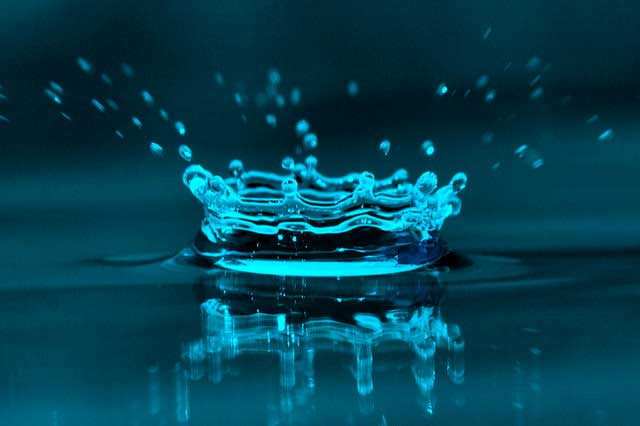
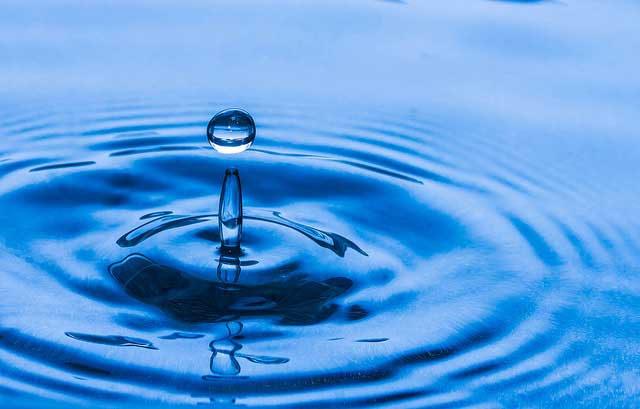
A photograph freezes a moment in time–and freezing high-speed moments can create amazing images. But high speed photography is challenging, to say the least. One of the best ways to practice high speed photography is to experiment with shooting water splashes. Splashes happen in milliseconds, and the timing of the shot dramatically changes how the droplets appear in the image. While water splash photography is a popular technique, there are many ways to add variation to the method.
Ready to experiment with high speed photography? Here’s how to shoot water splashes.
You’ll need:
- A camera
- A lens, preferably with a longer focal length so you don’t get your gear wet
- An off-camera flash with a transmitter and tripod or light stand (You can photograph water splashes without a flash, but the droplets don’t stand out as well and you’ll need to use a faster shutter speed.)
- A tripod
- A remote release (or an app with Wi-Fi enabled cameras)
- A bowl of water, or, if you would like to include the object making the splash in the photo, a clear fish tank
- An object (or two) to drop into the water
- A backdrop or a blank wall (both dark and light colors work well but have obviously different looks)
- Clear plastic bags to protect your flash and any gear close to the water
- A table, to make the set-up easier
Before you start: Water splash photography is messy, so be sure to shoot in an area with easy clean-up.
How to Photograph Water Splashes
1) High speed photography of course requires a high shutter speed, but when using a flash, your shutter speed is a bit more limited. That’s okay though, because that flash of light helps to freeze motion. Use the highest shutter speed that your camera allows with a flash–on most cameras, this is 1/250. To blur out the background, use a low aperture, then balance out your exposure with the ISO.
If you’re uncomfortable with manual mode, use shutter priority mode with a 1/250 shutter speed, or the fastest speed your camera can use with a flash. Set your camera up on a tripod and turn the shooting mode to the remote release. Or if you have a Wi-Fi enabled camera, get your app ready to trigger the photo once everything else is set up.
2) Setting up your water plays a big role in the final outcome of your images. Place your bowl or tank of water a few feet from your background (or a blank wall). If you are using a fish tank, leave it only half full–you’ll need to crop or clone out the rim of the fish tank, so you don’t want the edge covering up any splashes. If you are using a bowl, you’ll be photographing the droplets after they splash into the air, not the actual object making the splash.
3) Next, place your flash so it’s lighting up the water–ideally, put the flash to the side but high, pointing down at the water. The trick is to light up only the water. Take a test shot and if you see light hitting your background, use the flash’s zoom to narrow the light’s reach. The higher the flash’s zoom number is, the more limited the light’s reach is.
4) Take another test shot–if the droplets look overexposed (but the background is fine), turn down the flash using manual settings. (For example, 1/2 is half power, 1/4 is a quarter power and so on). Take some test shots and experiment with the flash settings to see what will light up the splashes, but not the background. Keep in mind anything close to the water will get wet–you may want to wrap your flash with a plastic bag.
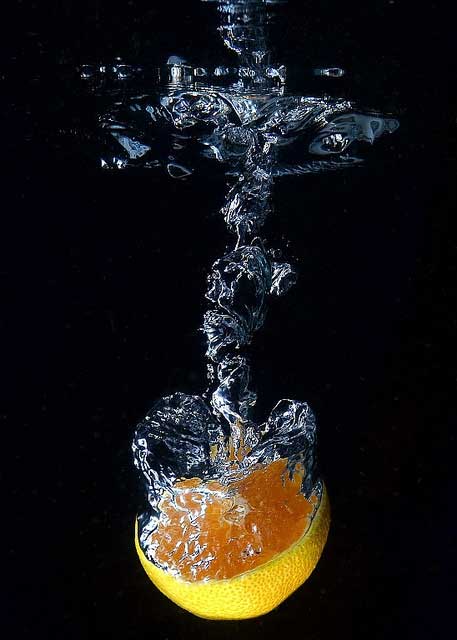
5) Next, compose your shot–either just above the bowl or shooting right through a clear fish tank. For taller splashes, consider a vertical orientation. Try to eliminate any distractions by zooming or moving the camera closer if necessary.
6) Now, for the fun part–with one hand, drop the object into the water and trigger the camera with the remote in the other hand. Every drop will create a different splash, so experiment with dropping the object close to the water’s surface or farther away. In between shots, wipe up any water droplets that could appear in the photos, especially if you are shooting with a fish tank. Take a look at your photos and adjust your composition, flash and props as needed; water splash photography often requires some experimentation.
7) After viewing your photos and making any in-camera adjustments, most water splash photos will need a bit of post processing to really stand out. Head into Photoshop, Lightroom or your favorite photo editor to lighten the splashes, adjust the contrast and clone out any imperfections, or save time by using our portrait editing service.
Variations on Water Splash Photography
Water splashes are a fun way to experiment with high speed photography. But that’s just one idea. The same set-up can be applied to pretty much any liquid. Simply adding a few droplets of food coloring to the water can make a dramatic difference in your photos and add a bit of variation to your work.
Several photographers have started using sparkling water or soda instead, adding bubbles for a bit more texture to the photographs. Another popular option? Milk splash photography.
While switching up the liquid will make a difference, there are other ways to get creative with water splash photography. Using flash gels will change the color of the water, no food coloring necessary.
Changing up the object you choose to make the splashes adds variation as well. Try dropping two or more objects at once–choose similar items or try opposites.
High speed photography is tricky to master, but, with a few tricks, you can create amazing images. Water splash photography is a great way to learn how to shoot at high speeds, and you’ll get some unique images as well. Plus, the same concepts can be applied to shooting splashes of soda, milk, colored water or any liquid.
– SmartPHOTOeditors
SmartPHOTOeditors
 Prev
Prev