Over time, the practice of airbrushing photographs has become a much more common practice. Why? Airbrushing photos is a great technique to use if there are flaws on an image. Today, various image editing software packages can retouch images effectively; consequently, you can readily airbrush photos on your own, quickly and easily. With practice, you will learn how to airbrush a photo just like a seasoned professional.
Before We Learn How to Airbrush a Photo, Let’s Review Some Quality Image Editing Software

-
GIMP (GNU Image Manipulation Program)
On a limited budget? Perhaps the GIMP software program may be exactly what you need. Available free of charge, this open source software offers some pretty good image enhancement features for the price. This software runs on Windows, Macintosh, or Linux.
-
Coral PaintShop Photo Pro
While not a free option, this software offers airbrushing features at an affordable price point (around $100). Coral PaintShop Pro also boasts of digital painting options, some sketching functionalities, and twenty-four image effect filters
-
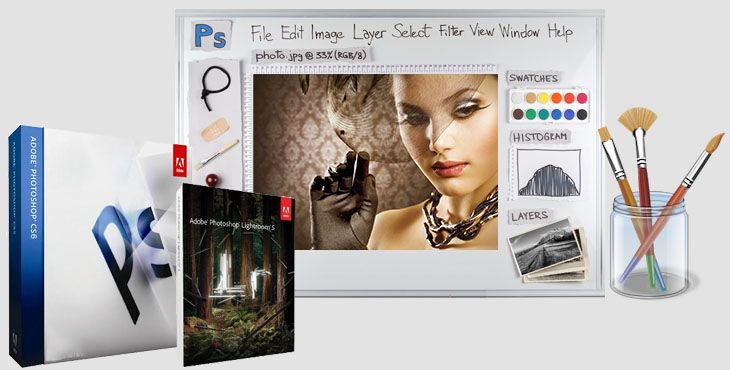
Adobe Photoshop
One of the most popular programs for image enhancement and photo airbrushing, this software truly offers powerful airbrushing features – and so much more. Priced at $699, this software is on the more expensive side.
-
Portrait Professional Studio
Another affordable option, Portrait Professional Studio provides a fast and easy way to airbrush photos. Recommended especially for fashion and glamour photo touch-ups, this software is also suitable for editing other types of images.
-
ArcSoft Portrait Plus
ArcSoft Portrait Plus is yet another option for airbrushing pictures. Offering a facial mapping feature that allows you to put twenty-five key points on a subject’s face, it is great for editing facial imperfections. Priced at approximately $179, this software is affordable as well.
Airbrush a Photo: Step-by-Step Instructions
Want to airbrush a photo effectively? Here are some instructions for you:
Step #1 – Choose the best airbrushing software program. If you want to use free software, then GIMP is an excellent choice. If Adobe Photoshop suits your requirements, this program is a quality one.
Step #2 – Open the image you want to airbrush. You can do this by going to the “File” menu and clicking on the option that says “Open”. Then, find the image on your computer you wish to edit. Next, double click on the image with your mouse and the image will open in the editing program.
Step #3 – On your toolbox palette, choose the eyedropper tool. Select a color from the image that matches the spot you want to airbrush. Then, select the airbrush tool. Apply the airbrush tool on the imperfect area in the photo. If the image does not turn out as you expected, visit the “Edit” menu and select “Undo” to cancel your action. Repeat this process until you find the best color for the imperfect areas.
Step #4 – Once you find the best color for the image, you must hold your left mouse button. Move the mouse over the imperfect areas. This action applies the chosen color to the selected area. Try to apply the color cautiously in tiny amounts. In this way, you will be able to see if the color matches. Then, select the smudge tool so that you can effectively blend the applied color with the original image color – continue until you get your desired result.
How to Airbrush a Photo: Tips & Tricks
As each image is unique, remember that each time you airbrush you should be creative and make the appropriate adjustments as necessary.
Overall though, enjoy the image editing process and you soon will be retouching images like the professionals.
Are you interested in learning more about airbrushing pictures or any related topics? Feel free to reach out to our experts.
– Photo Wizzard
SmartPHOTOeditors
 Prev
Prev